|
Hello friends! I thought it would be fun to share a little bit about my journey with Procreate today. Why I use it, how it fits into my workflow, what I like and don't like about it, as well as some workarounds that I’ve found helpful. There are a lot of options out there when it comes to creating artwork for illustration/licensing and it’s easy to get caught up in the FOMO of what everyone else is doing, so I wanted to share this caveat first... Procreate is just one of many great tools out there. From traditional media to digital, raster to vector, there is a place for all of it. While learning how other artists work can be fun and inspiring, remember that the best way to create artwork is not what I or anyone else may suggest. It's whichever way works for you and expresses your artistic vision the most accurately. And while we're here, I feel obliged to say that this post does not contain affiliate links. I'm just sharing for the fun of it! That being said, let's talk Procreate! 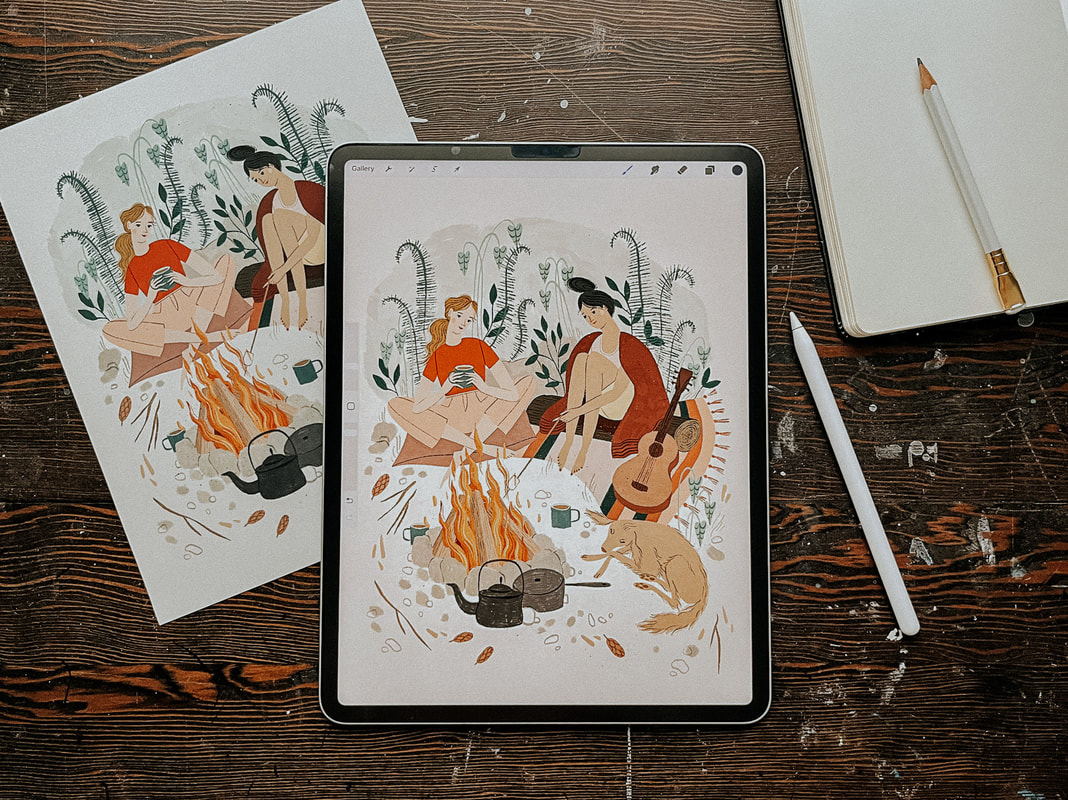 Why I started working in Procreate My working style has gone through a lot of iterations over the years. Like most creatives, I love playing with new tools and collecting all the cool art supplies! But that can also get overwhelming. I’m easily bogged down by too many choices and visual clutter. I've learned that I personally do better with fewer choices, and that my work will be better if I can focus on improving at one or two techniques at a time rather than being mediocre at everything. I used to hand paint all of my work, scan it and edit it in Photoshop. I use Photoshop because it’s what I learned in art school and so I was already somewhat familiar with it, although, to be honest, most of the PS tools that I actually use I learned through Google search. I did learn Adobe Illustrator, but while I love what other artists are able to create with it, it never felt quite right to me in terms of my own artwork. I started getting more work as an illustrator just after my daughter was born but it became very difficult to work at all at that point. She was not a good sleeper and so working during nap time was a bit of a joke. Around this time Procreate started to become popular and I thought it could be a good option for me. It gave me a lot of freedom to work while also being at home with my young children. I didn’t have to worry about finding time to paint, scan and edit my work, clean up my supplies, or keep my paint covered brushes away from grabby hands. So I decided to go for it. How I use Procreate It took me quite a long time from the point of first using Procreate to where I became comfortable enough to use it as my main tool. Over two years! At first I just used it to create my rough sketches and then I would hand paint my final artwork. But, as I said, it became more and more difficult to keep up, especially when I eventually had two non-napping kids at home with me all day. I’ve also come to the conclusion that I’m just a naturally slow person and it takes me twice as long to do anything. Eventually, I decided that the only way I was going to be able to create art at a steady pace was if I was working mostly on the Ipad. Getting used to working more fully in Procreate was, as with most things, a matter of practicing and creating lots of work. I spent a lot of time experimenting with different brushes until I found a few that worked best for me. These ones are my current favourite: bardotbrush.com/product/artists-pastels/ As of this writing my process usually looks like this:
Dislikes While there are a lot of things that I love about Procreate, there are a few things that I don’t like. In particular, I’ve always struggled with image degradation and limited layers. I can tend to be on the stubborn side and these two things irritated me so much in the beginning that they are the main reason it took me so long to come around to using Procreate more fully. With practice and some research I was able to figure out some workarounds and I find now that a little bit of inconvenience is worth it when I consider all of the benefits it’s giving me. Image degradation This was one of the biggest issues that I had/have with Procreate and I feel like it doesn’t really get talked about much, maybe I’m wrong on that? Every time something gets moved around or adjusted in Procreate the image quality of that object will degrade slightly. So, for example, if you’ve drawn final artwork for a pattern and are then attempting to build that pattern within Procreate, moving each motif around and fiddling to get them in just the right place, you’re going to end up with blurry artwork after a few moves. It’s pretty annoying. To work around this I always create a fairly accurate rough sketch first, even if I’m creating a pattern, I’ll create the repeat in sketch form first and get everything where I want it to be before creating the final artwork. When I’m creating the final artwork I try not to move anything. If something does need adjusting, I'll do that at the end once I’ve exported everything into Photoshop. Then I can freely move things around without any issues. If I really need to move something in the moment then I’ll create a duplicate and move that into the correct place and then replace it with the original in Photoshop later. Side note: Creating a rough sketch first is something you’ll need to be doing anyways if you’re going to be creating commissioned work for clients so it’s a good habit to get into.
Limited layers If you work in rasters then you know it’s important to work as large as possible. I like to create most of my work at 600 dpi, just to be safe (I’ve never had an issue with needing anything larger). But an 8x10 canvas in Procreate only has so many layers, and being used to working in Photoshop I liked to have every single thing on its own layer. It's a bit clunky, but to work around this, once I reach my layer limit, I duplicate my file and merge all of the layers in the duplicate file together. Then I'll continue to work on new layers in the duplicate file. If I'm working on something very complex I might do this a few times. Once I'm done, I'll combine all of the layers from the original Procreate file and each duplicate file into one file in Photoshop and remove the merged layers (in PS select all layers and then drag and drop them into the new file). It sounds more complicated than it actually is! I’ll also sometimes combine layers that have items that don’t touch each other and separate them later in Photoshop, but that can be a bit tedious. Lately, I’m trying not to be as picky about having everything on a separate layer because I’ve rarely had to go back and make adjustments. If I feel it’s safe to combine layers then I will, knowing that I can always pull off some Photoshop magic to make adjustments if I really need to. Likes Time saving Working in Procreate saves me a lot of time because I’m able to be portable and work almost anywhere as opposed to being stuck at my desk painting, scanning and editing my artwork. Not only does this free up my time, It also means that I'm spending less time on each particular piece while still earning the same amount of money from it, so I end up earning more per hour worked. Freedom to mess up Along with the freedom of portability that I just mentioned, I also feel more free in my drawing itself. When hand painting I was often afraid of making mistakes and ruining hours of work. With Procreate I have been able to loosen up and try new things without that worry. It’s allowed me to grow my skills and my confidence. Like/Dislike Cost While an iPad is a big investment, the actual Procreate app is a very small one time fee of around $20 depending on where you live, which is incredible considering the value it provides and in comparison to other programs such as the Adobe suite. I’m also saving a ton of money that I’d normally be spending on art supplies. That one is both a pro and a con! I use my iPad for so much more than just drawing and so it has been worth it for me. I get asked this a lot so I’ll share here, if you’re considering purchasing an iPad I would prioritize screen size over storage. I export all of my work and save it in Dropbox so I don’t need a lot of storage space. The iPad that I’m using right now is a 12.9” iPad Pro. What about you? Do you have any pros and cons or general Procreate tips that you’d add to this list? Let me know in the comments below!
18 Comments
1/19/2024 04:33:16 am
Thank you for sharing your own experience with procreate ! It took me a long time to accept that Procreate was the best tool for me (due to slowness, lack of space, having a baby). Somehow I felt digital art was less noble that an actual painting. But I admire other artists' work regardless of the tools they use ! : ) And I love using this app.
Linda Hoenigsberg
1/19/2024 04:50:50 am
How serendipitous! I have my iPad right next to my chair this morning because I'm going to start a Skillshare class on Procreate this morning rather than doom scroll once I've read my emails. I have used it before, and taken other classes, and I can definitely see the pros and cons. I have a good, large iPad and I saw some florals done with it the other day and was amazed. I too learned Ai and just finished a course by Sarah Watts on Ps. I'm excited to get going on this.
Hi Meghann, 1/19/2024 06:40:27 am
Hi Meghann,
Hi Kathleen! Yes, I miss levels as well! It's one of my main tools in Photoshop. Hopefully they will add something similar one of these days.
Meghann, Hi Barbara! Usually it goes fairly quickly but I have found that sometimes, if my internet connection is struggling, it takes a long time or will fail. If I can't get it to work I will air drop it to my desktop and save it to Dropbox from there. That usually works well. 1/19/2024 03:15:40 pm
I have been curious about the image degradation as well but hadn't heard much about it. This work around is so very helpful, thank you!
It so interesting to read about other people’s processes!
Julie
3/16/2024 01:15:54 am
Hi Meghann,
Meghann
3/16/2024 09:45:23 am
Hi Julie! Thanks for those tips! I have actually never used any of those features in Procreate so I'll have to try them! I think I learned before they were implemented and just stuck with that, although I have seen people on Instagram using them.
Julie
3/17/2024 12:33:02 am
I hear you. It took me 2-3x longer to finish my drawing in Fresco. Your comment will be posted after it is approved.
Leave a Reply. |
 RSS Feed