|
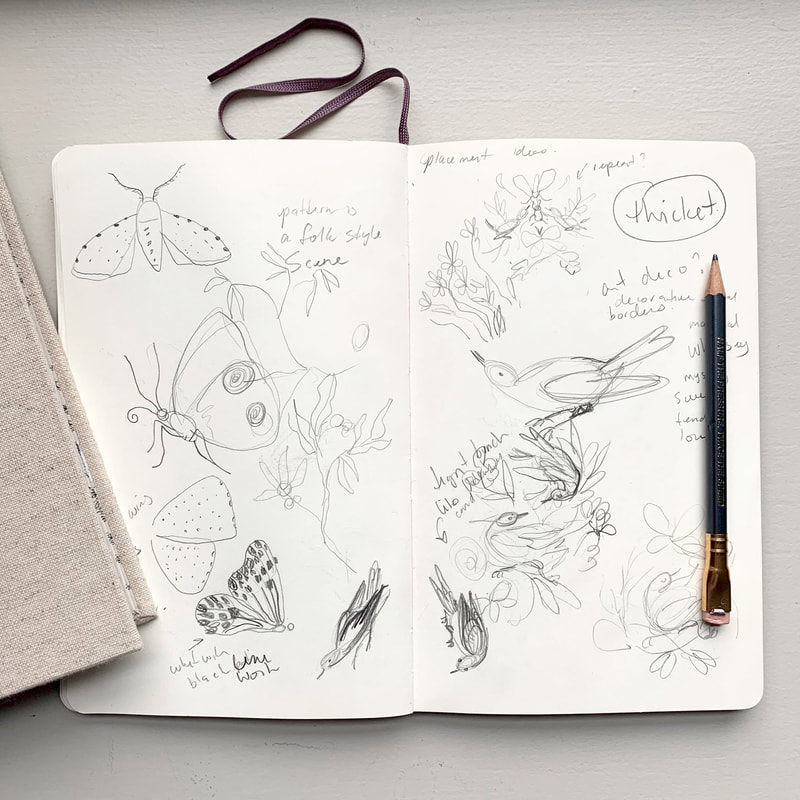
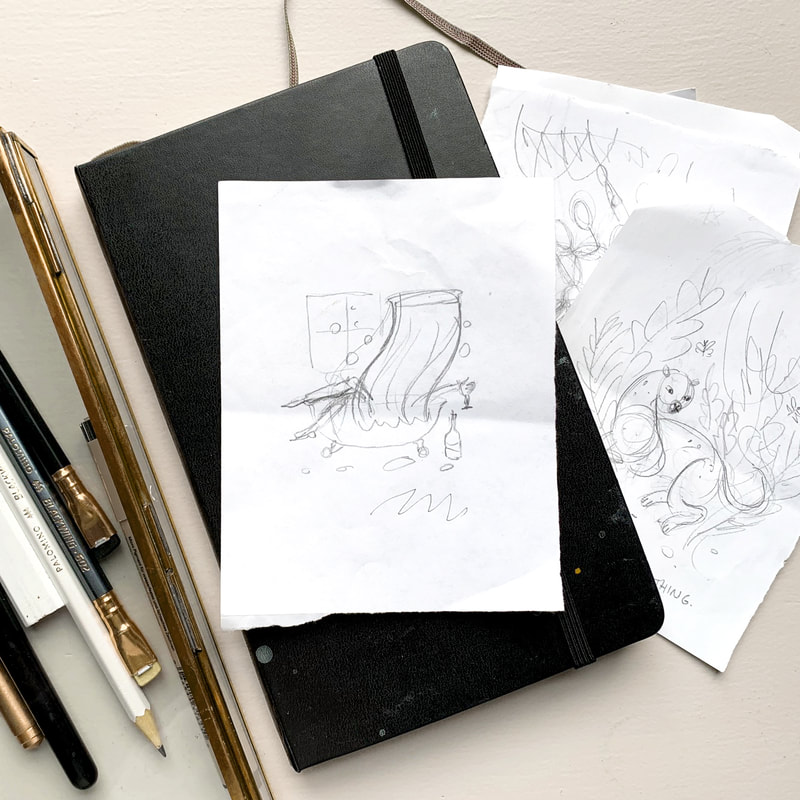
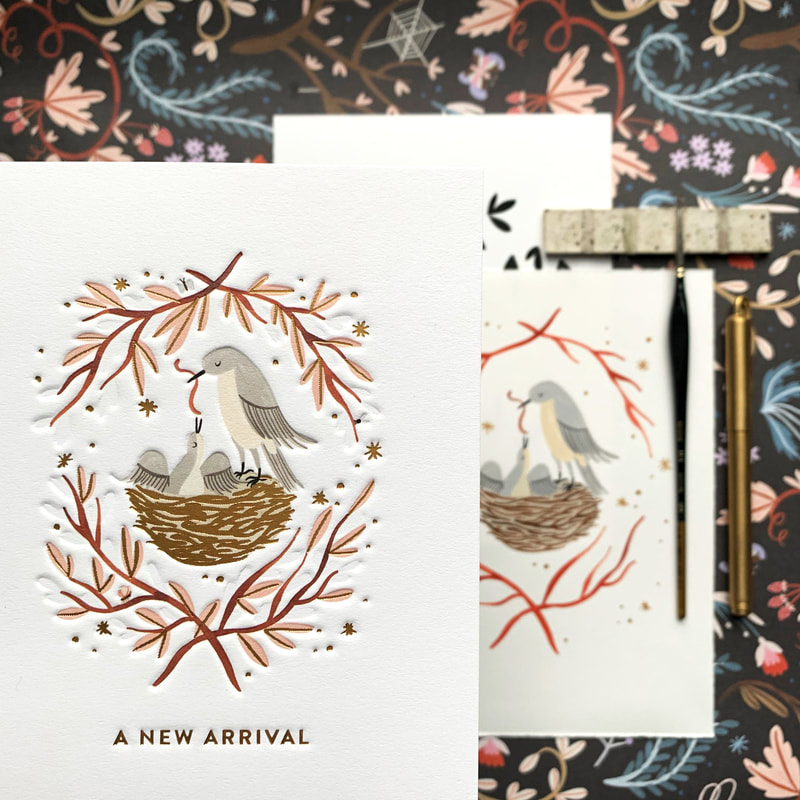
Hello friends! I’m so excited to share with you a sneak peak into my creative workflow. I’ll be sharing everything from how I come up with ideas to planning, sketching and creating a finished piece. Starting is the hardest part for me, but when I break my process down into steps it really helps to remove the overwhelm, and lets me get to the fun part, painting! Firstly, I should say that this is the method that I’ve found works best for me. There are infinite ways to create artwork and this is only one. I work mainly with traditional media in an illustrative style so that’s what this process is geared towards. If you prefer to paint intuitively or work purely digitally then some of these methods might not be a perfect fit but you can always adjust them to suit your unique process. Take what works for you and leave the rest! So with that said let’s get to the nerdy good stuff… 1. RESEARCHResearch involves, gathering ideas and inspiration. Taking inspiration from your daily life is an easy place to start. You never know when a great idea will pop into your head so be ready to write it down so you can reference it later. A little notebook works great for this but my favourite tool is the Notes app on my phone. I keep a running list of anything and everything. These don’t have to be flushed out ideas, just a word or two, and not everything will pan out but you might be surprised by what does make it into a finished piece! Creating a mood board of colour and reference images can also help you create a beautiful finished product. You can create a physical inspiration board with magazine clippings, colour chips and and other objects or you can create a virtual board using Pinterest. Reference things like home decor, photography, vintage patterns or anything else that you find interesting, but try not to include artwork in a similar vein as your own. You want to come up with your own, original work and not be overly inspired by someone else's. 2. PLAN Planning ahead will help remove the overwhelm when starting a new piece of art. Once I’ve done my research and I know what my subject matter is, I like to spend a little bit of time experimenting in my sketchbook to get warmed up. You can play with sketching or painting some individual elements or jot down a few quick layout ideas that you have floating around in your head. Look for interesting shapes and details that you might want to feature or embellish later. Don’t think too hard just play and discover. No one is going to see this so just try anything and everything you can think of. Next I usually move on to figuring out a basic layout by drawing some simple thumbnail sketches. I find it easier to do this ahead of time partially out of personal preference but also because, depending on what I’m working on I may have to send sketches to a client for approval before moving forward. They don’t have to be complicated, these are just rough layout suggestions to act as a guide or jumping off point. These are meant to be quick and rough so take the preciousness out of it by giving yourself a time limit of 4 thumbnails in 20 minutes. Make it 10 minutes if you’re up for a challenge! If you’re comfortable painting loosely, without a lot of structure then you can choose your favourite thumbnail and move on to paint from here but if you’re like me you might want to refine your chosen thumbnails into a slightly more flushed out sketch. Either method is just fine so do what feels best for you. You can also plan out your colours in advance which is what I do. Check out my Free Guide to Creating Stand Out Colour Palettes, to learn all about how I choose my colours. Now for the really fun part… 3. PAINTOf course you can tackle this step any way you’d like and if you have a way that works for you then go for it! There is no right or wrong way to create your final image, be it paint, collage, digital, etc., but here’s what I do because it works for me… I like to build up my artwork in layers. This allows me to see and adjust the entire piece as I go and that helps with getting a well balanced look to the final artwork. I start by either lightly sketching or using a light table and then blocking in the basic shapes of my composition first. The idea is not to focus on just one area at a time and make it perfect, but to instead focus on the overall shapes you are creating and build up the detail evenly around the piece. Think of it in terms of writing an essay, you need to create your outline first and then refine and refine from there in order to end up with a cohesive finished product. Side note - If I’m creating something that I know is going to end up as a digital file for licensing then I will usually break my composition up into icons so that it’s easier to edit and assemble on the computer, however I’ll still use this method of working in layers within each icon. Again, not necessary, just what works for me. Finally, take your time. Give yourself a break. If you find yourself struggling, sometimes the best thing you can do is walk away and come back with fresh eyes, and if after that you still feel the need to stop and and start again, that’s okay too. What might look effortless on Pinterest or Instagram probably had a lot of hard work and a good dose of frustration put into it. It’s totally normal and all part of the process. Thank you so much for following along! I hope that you’re able to implement some of these strategies into your own workflow and I’d love to see what you create! Feel free to leave a comment below, tag me on Instagram or send me a message letting me know what you want to learn about next!
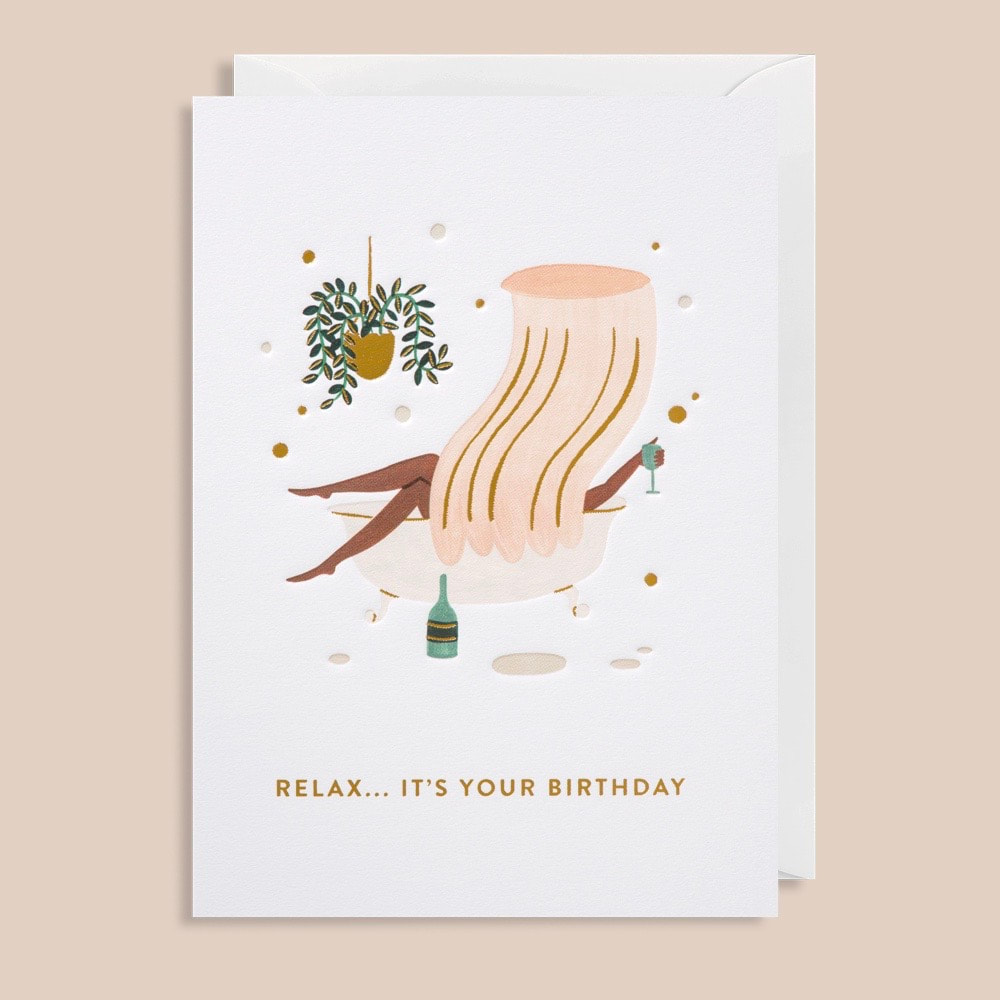
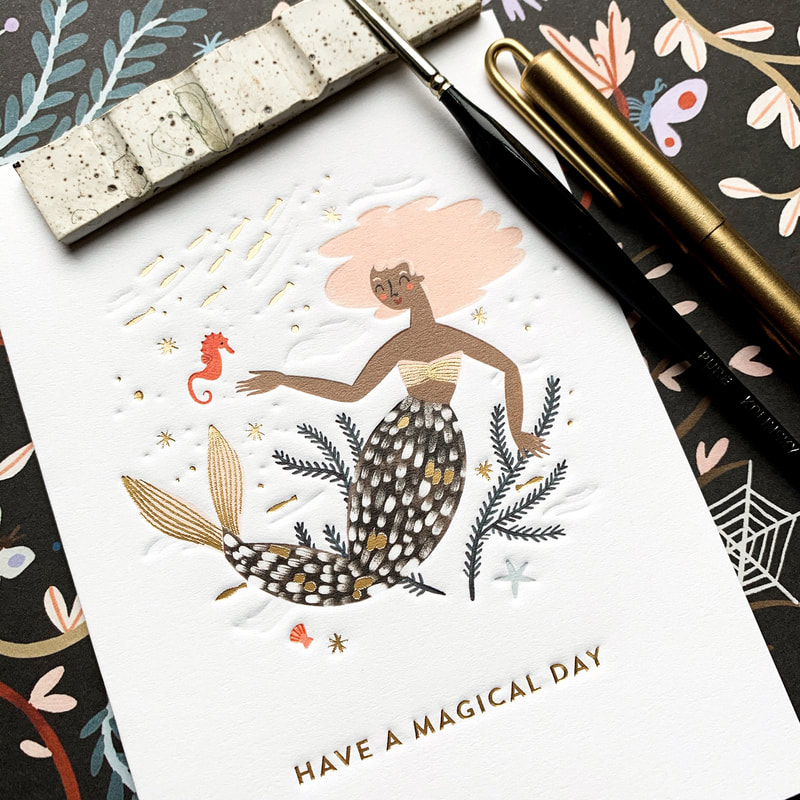
Want to stay up to date on upcoming posts? Sign up for my newsletter here! You can also check out my full range of greeting cards with Lagom Design here. Best, Meghann Find me on Instagram: @meghannrader
15 Comments
Meghann
10/7/2020 10:27:30 am
Thank you so much Melissa! I will email you the download link.
Reply
Meghann
10/7/2020 10:29:15 am
Thank you Emma. I hear you there, it's been on my to do list for a while lol!
Reply
Meghann
10/7/2020 10:29:59 am
Thank you so much Karen!
Reply
Meghann
10/8/2020 09:49:03 am
My pleasure! Thanks so much Marie!
Reply
Tigg Morales
10/7/2020 10:14:06 pm
I love your work, thank you for sharing your process. I would love to get the download link for the color guide.
Reply
Meghann
10/8/2020 09:53:36 am
Thank you Tigg!
Reply
10/8/2020 01:31:58 pm
Thank you so much for sharing this! I adore your work Meghann. Cant wait to see more posts in future.
Reply
Felicitas
11/12/2020 05:11:18 pm
Hello! I love your work and I found this article really interesting . I didn’t know you have classes on skillshare. Please could you tell me the name of the classes so I can find them? Thank you!
Reply
Meghann
11/13/2020 04:54:50 pm
Hi Felicitas! I actually don't have any classes on Skillshare currently but its something that I am planing on working towards in the coming months. I will definitely be posting here and sharing in my newsletter when that happens so keep an eye out! ;)
Reply
Your comment will be posted after it is approved.
Leave a Reply. |

 RSS Feed